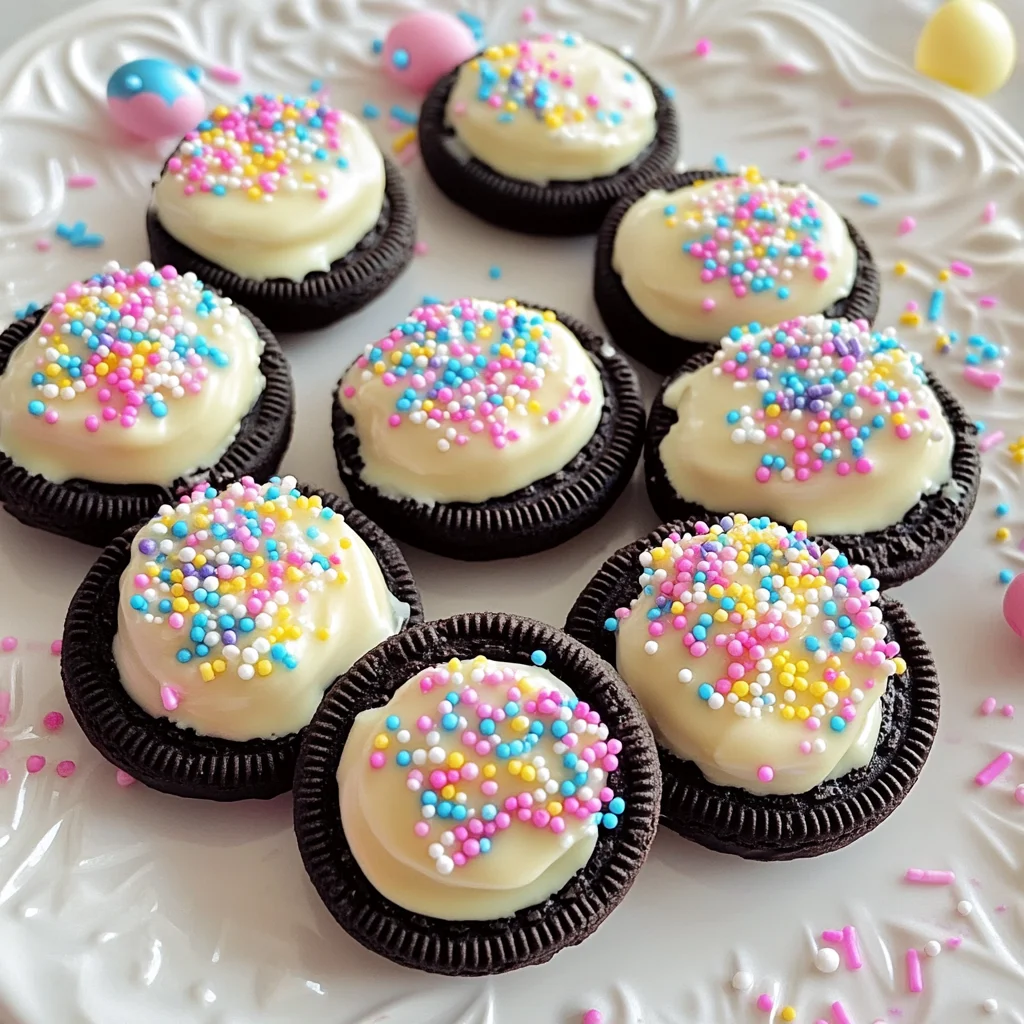
Easter Oreos
These delightful Easter Oreos are the perfect sweet treat to enjoy during the Easter festivities! With their creamy white chocolate coating and colorful sprinkles, they not only taste amazing but also look festive on any dessert table. Easy to make and fun to personalize, these treats are suitable for family gatherings, Easter brunches, or even as cute bake sale items. You’ll love how quickly they come together and the joy they bring!
Why You’ll Love This Recipe
- Quick and Easy: This recipe takes just 15 minutes to prepare, making it a hassle-free option for busy days.
- Customizable: Choose your favorite sprinkles or toppings to match any celebration theme.
- Fun Activity: Making these treats can be a fun bonding experience with kids or friends as you dip and decorate together.
- Deliciously Sweet: The combination of Oreos and creamy white chocolate is irresistibly tasty!
- Perfect for Sharing: With 12 servings, these treats are great for sharing with family and friends.
Tools and Preparation
Before diving into this delicious recipe, gather your tools. Having everything ready will make the process smooth and enjoyable.
Essential Tools and Equipment
- Microwave-safe bowl
- Parchment paper
- Plate or tray
Importance of Each Tool
- Microwave-safe bowl: Essential for melting chocolate safely without burning it.
- Parchment paper: Keeps your workspace clean and prevents sticking, allowing for easy removal of the dipped Oreos.
- Plate or tray: Provides a stable surface for setting your decorated Oreos while they cool.
Ingredients
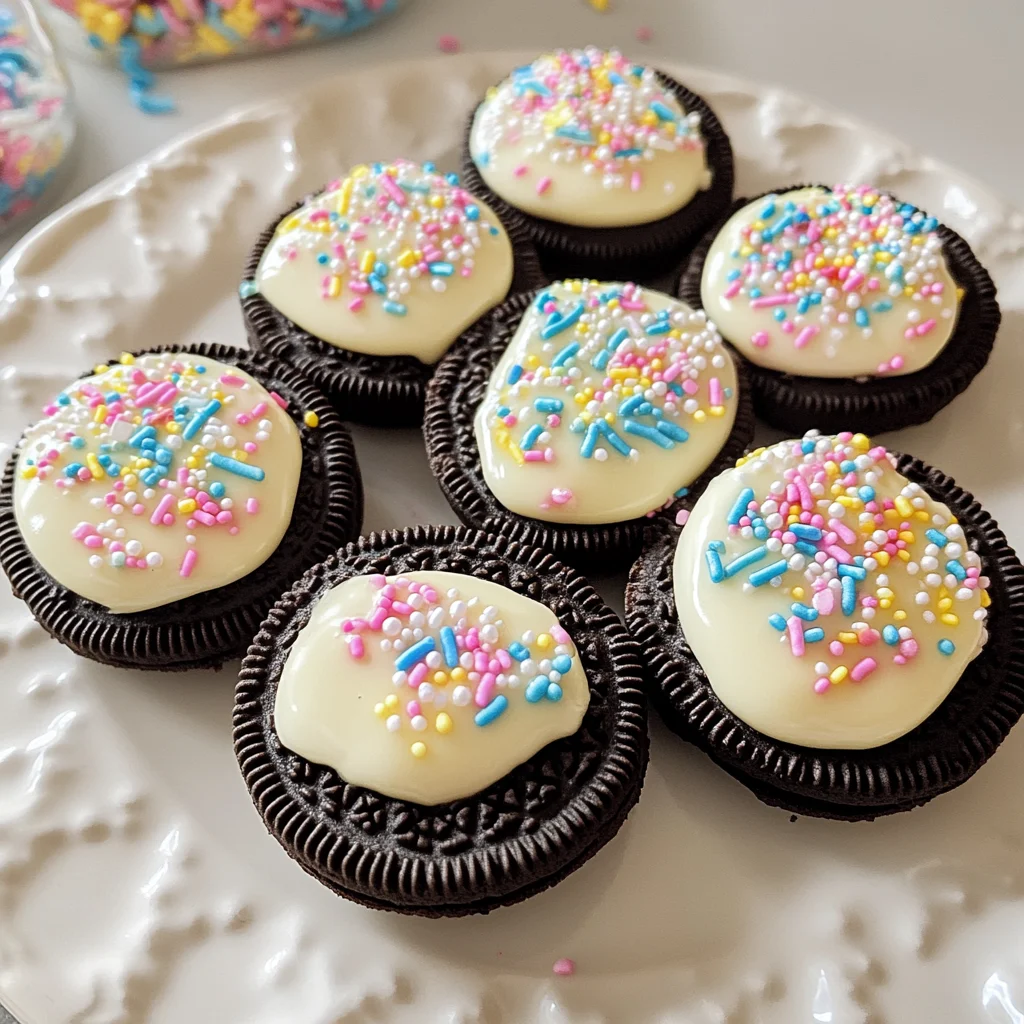
These chocolate dipped Easter Oreos are the perfect sweet treat to enjoy for Easter! Oreos, white chocolate, and pretty sprinkles, what else can you want?!
For the Oreos
- 10-12 Oreos
For the Chocolate Coating
- 2 White Chocolate Bars
For Decoration
- Pastel/Spring/Easter Sprinkles (as much as you’d like <3)
How to Make Easter Oreos
Step 1: Melt the Chocolate
- In a small bowl, break apart your 2 white chocolate bars.
- Microwave in intervals of 30 seconds for a total of 2 minutes. Stir after each interval until fully melted.
Step 2: Dip the Oreos
- Once your chocolate has melted, place parchment paper on a plate or tray.
- Dip each Oreo halfway on both sides in the melted chocolate.
- Immediately sprinkle pastel sprinkles on top while the chocolate is still wet.
Step 3: Set in Fridge
- Place the decorated Oreos in the fridge for about 20 minutes to allow the chocolate to set completely.
- Once set, serve and enjoy your delightful Easter treats!
How to Serve Easter Oreos
These delightful Easter Oreos are perfect for any gathering or celebration. With their sweet chocolate coating and colorful sprinkles, they make an appealing treat that everyone will love. Here are some fun serving ideas to elevate your Easter festivities.
Individual Treat Bags
- Create small treat bags filled with one or two Easter Oreos for guests to take home. Use clear bags tied with pastel ribbons for a festive touch.
Dessert Platter
- Arrange the Easter Oreos on a large platter with other spring-themed desserts. This can include cookies, cupcakes, or fruit tarts to create a vibrant dessert table.
Kids’ Snack Station
- Set up a fun snack station for kids featuring Easter Oreos alongside other kid-friendly treats like fruit skewers and mini cupcakes. It’s a great way to keep little ones entertained.
Party Favors
- Package individual Easter Oreos as party favors for your guests. A simple label with a thank-you note can add a personal touch.
Themed Picnic
- Bring these Easter Oreos along for an outdoor picnic. Pair them with refreshing lemonade and light sandwiches for a delightful spring outing.
How to Perfect Easter Oreos
Perfecting your Easter Oreos is easy with just a few tips. Follow these simple suggestions to ensure your treats turn out beautifully every time.
-
Use quality chocolate – Choose high-quality white chocolate for melting to achieve a smooth, glossy finish that enhances the overall look and taste of your Oreos.
-
Control the temperature – Melt your chocolate at medium power in the microwave to avoid scorching it. Stirring frequently helps maintain an even temperature.
-
Choose vibrant sprinkles – Opt for colorful pastel sprinkles that reflect the Easter theme. This adds visual appeal and makes your treats pop.
-
Dip carefully – When dipping the Oreos, ensure they are coated evenly without overloading on chocolate, which can cause drips and uneven surfaces.
-
Allow proper setting time – Give the dipped Oreos enough time in the fridge to set completely. This ensures they hold their shape when serving.
Best Side Dishes for Easter Oreos
Pairing side dishes with your Easter Oreos can enhance the overall experience of your celebration. Here’s a list of delicious options that complement these sweet treats perfectly.
-
Fresh Fruit Salad – A mix of seasonal fruits like strawberries, blueberries, and kiwi adds freshness and balances the sweetness of the cookies.
-
Mini Veggie Cups – Individual cups filled with crunchy vegetables and hummus provide a healthy contrast to the rich flavors of the Oreo treats.
-
Cheese Platter – An assortment of cheeses paired with crackers offers savory bites that work well alongside sweet desserts.
-
Spring Pasta Salad – A light pasta salad with fresh herbs, cherry tomatoes, and feta cheese makes for a refreshing side dish.
-
Chocolate Fondue – Set up a fondue station where guests can dip fruits, marshmallows, or pretzels into melted chocolate for added indulgence alongside their Oreos.
-
Lemonade Spritzers – Refreshing lemonade mixed with sparkling water creates a light beverage option that pairs nicely with sweets while keeping things festive.
Common Mistakes to Avoid
To make the best Easter Oreos, avoid these common pitfalls.
- Neglecting Chocolate Melting: Failing to melt the chocolate properly can lead to clumping. Always melt in intervals and stir frequently.
- Overloading on Sprinkles: Adding too many sprinkles can make the Oreos messy. Use just enough to create a colorful layer without overwhelming the chocolate.
- Skipping Refrigeration: Not letting the chocolate set in the fridge results in a gooey mess. Always chill for at least 20 minutes to achieve a firm coating.
- Not Using Parchment Paper: Placing dipped Oreos directly on a plate can cause them to stick. Always use parchment paper for easy removal.
- Using Old Ingredients: Expired chocolate can ruin your treat. Check your ingredients’ freshness before starting.
Storage & Reheating Instructions
Refrigerator Storage
- Store in an airtight container for up to 1 week.
- Place layers of parchment paper between Oreos to prevent sticking.
Freezing Easter Oreos
- Freeze for up to 3 months in an airtight container.
- Wrap each Oreo individually for better protection against freezer burn.
Reheating Easter Oreos
- Oven: Preheat to 300°F (150°C) and warm for about 5 minutes. This keeps them crunchy.
- Microwave: Heat on medium power for 10-15 seconds. Be cautious not to overheat.
- Stovetop: Use a pan on low heat for a couple of minutes, flipping gently until warm.
Frequently Asked Questions
Here are some common questions about making Easter Oreos.
Can I use dark chocolate instead of white chocolate for Easter Oreos?
Yes, dark chocolate is a great alternative! It adds a richer flavor while still being delicious.
How do I decorate my Easter Oreos?
You can use various sprinkles, edible glitter, or even drizzle melted chocolate on top for added flair!
Are there any alternatives to white chocolate in Easter Oreos?
Absolutely! You can substitute with dairy-free white chocolate or carob chips if you prefer a different taste.
How do I ensure my Easter Oreos stay fresh?
Keep them in an airtight container at room temperature or refrigerated if you want them to last longer.
What should I do if my chocolate seizes?
If your chocolate seizes, try adding a bit of vegetable oil or coconut oil while stirring continuously until smooth again.
Final Thoughts
These Easter Oreos are not only visually appealing but also incredibly versatile and simple to make. Feel free to customize them with different types of chocolate or sprinkles based on your preferences. Give this delightful recipe a try and enjoy a sweet treat this Easter!
Easter Oreos

Easter Oreos are a delightful treat that perfectly captures the spirit of the season! With their creamy white chocolate coating and vibrant sprinkles, these cookies are not only visually appealing but also irresistibly sweet. Whether you’re hosting an Easter brunch, planning a family gathering, or simply want to indulge in a fun baking project with the kids, these easy-to-make Oreo treats will bring joy to your festivities. Best of all, they come together in just 15 minutes, making them a hassle-free dessert option. Customize them with your favorite sprinkles or toppings for an added personal touch—everyone will love this colorful addition to your dessert table!
- Prep Time: 15 minutes
- Cook Time: N/A
- Total Time: 0 hours
- Yield: About 12 servings 1x
- Category: Dessert
- Method: No-bake
- Cuisine: American
Ingredients
- 10–12 Oreos
- 2 White Chocolate Bars
- Pastel Sprinkles
Instructions
- In a microwave-safe bowl, break apart the white chocolate bars and melt in intervals of 30 seconds for a total of about 2 minutes. Stir until smooth.
- Prepare a plate or tray lined with parchment paper. Dip each Oreo halfway into the melted chocolate and then place it on the parchment paper.
- While the chocolate is still wet, generously sprinkle on pastel sprinkles.
- Refrigerate the dipped Oreos for about 20 minutes until the chocolate is set. Serve and enjoy!
Nutrition
- Serving Size: 1 Oreo (approximately 18g)
- Calories: 90
- Sugar: 8g
- Sodium: 25mg
- Fat: 5g
- Saturated Fat: 3g
- Unsaturated Fat: 1g
- Trans Fat: 0g
- Carbohydrates: 10g
- Fiber: 0g
- Protein: <1g
- Cholesterol: 0mg