Super Easy to Make Hawaiian Sand Cups for Kids Recipe
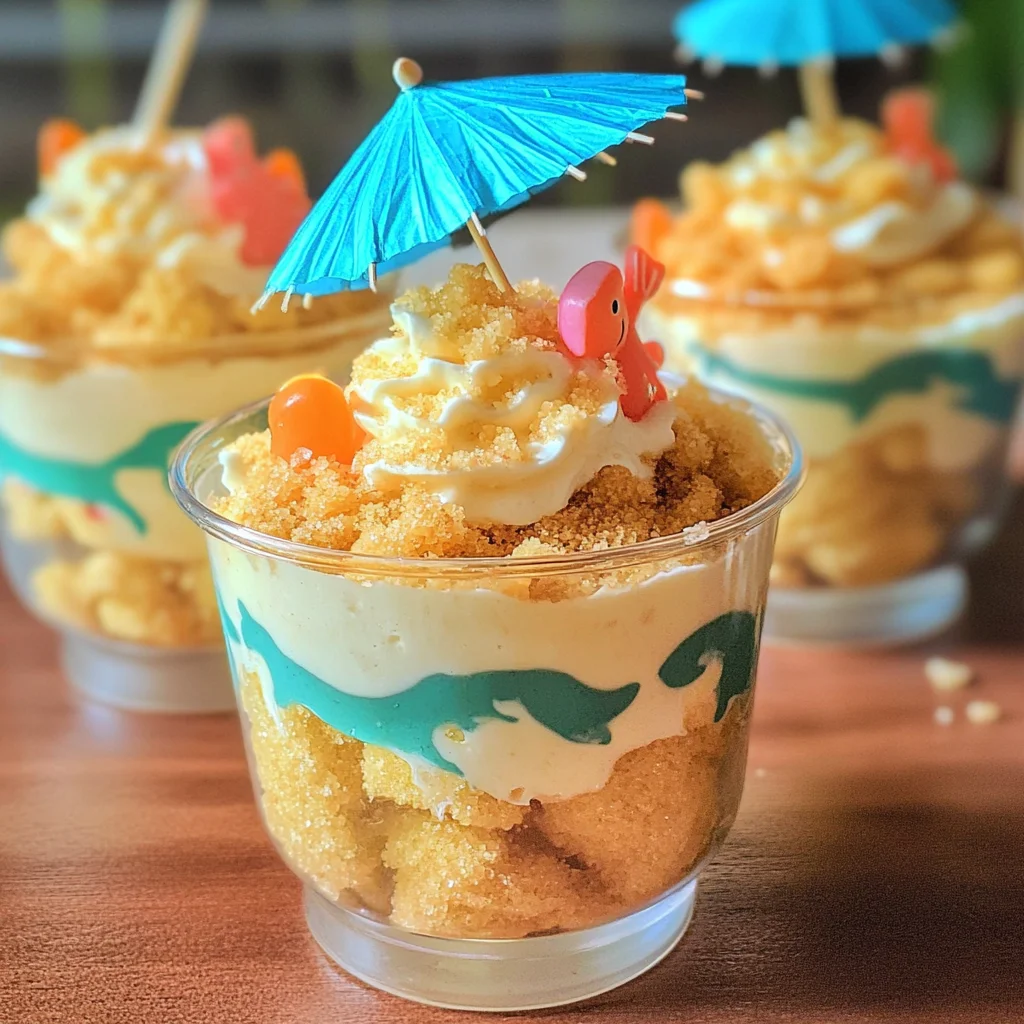
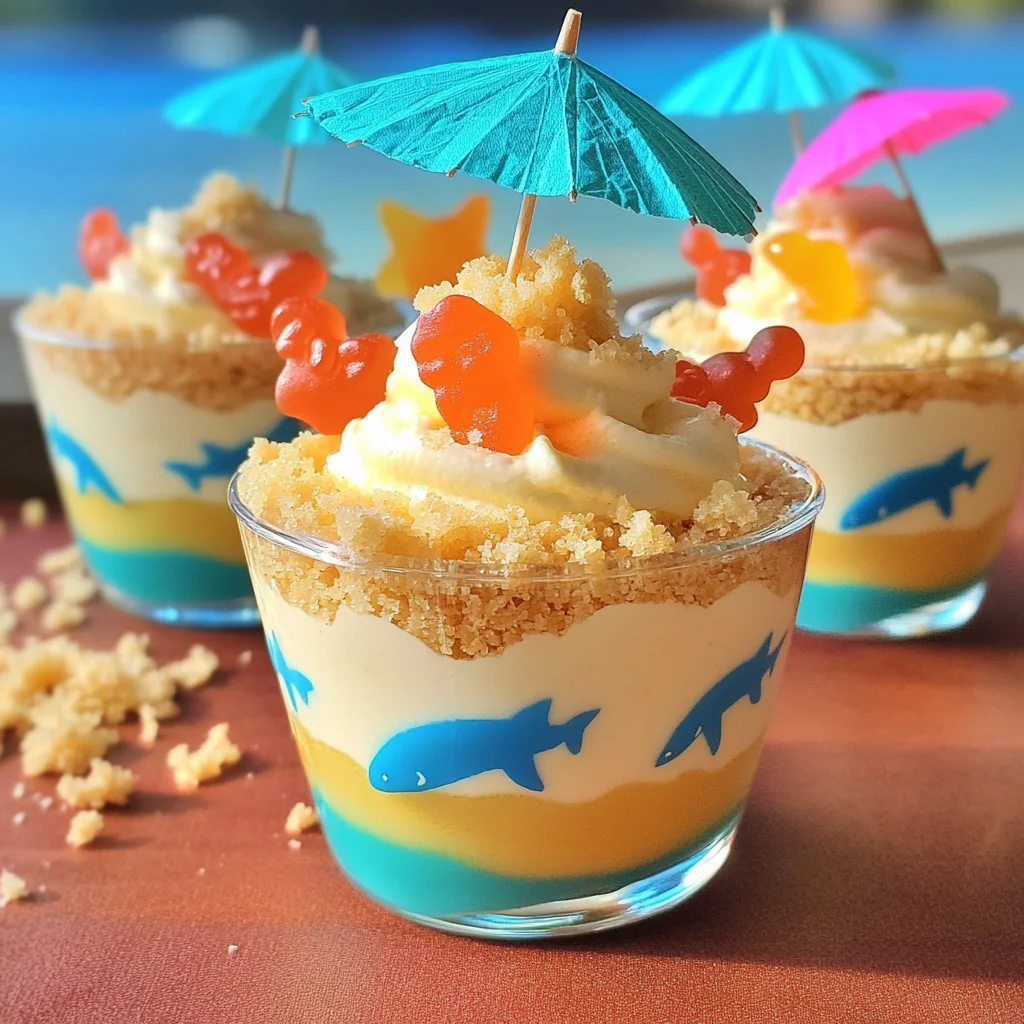
Super Easy to Make Hawaiian Sand Cups for Kids Recipe is a delightful dessert that brings a tropical flair to any occasion. Perfect for birthday parties, family gatherings, or simply as a fun treat, these sand cups are not only visually appealing but also incredibly easy to prepare. With layers of creamy pudding and crunchy cookie sand, this recipe guarantees smiles from kids and adults alike. Let’s dive into why you’ll love making this sweet creation!
Why You’ll Love This Recipe
- Quick & Easy: This recipe requires minimal preparation time and is perfect for busy parents looking for a fun dessert.
- No Baking Required: Enjoy the simplicity of a no-bake dessert that still impresses with its layered look.
- Kid-Friendly Fun: Kids will love helping to assemble their own cups, making it a great activity for family time.
- Versatile Decorations: Customize with different toppings like gummy candies or fruit based on your theme or preferences.
- Perfect for Parties: These sand cups are ideal for luau-themed parties, summer picnics, or any festive gathering.
Tools and Preparation
Before you start creating these delightful Hawaiian sand cups, gather your tools. Having everything ready will streamline the process and make it more enjoyable.
Essential Tools and Equipment
- Mixing Bowl
- Whisk
- Food Processor
- Clear Plastic Cups (7 oz size)
- Measuring Cups
Importance of Each Tool
- Mixing Bowl: A large bowl allows you to mix ingredients thoroughly without spills.
- Whisk: This tool ensures that your pudding mixture is smooth and free of lumps.
- Food Processor: Quickly crushes cookies into fine crumbs, saving time and effort in preparation.
Ingredients
Here’s what you need to make Super Easy to Make Hawaiian Sand Cups for Kids:
For the Pudding Mixture
- 2 Cups Milk
- 1 Small Package Instant Vanilla Pudding
- 1 Cool Whip (thawed)
For the Cookie Layer
- 1 Package Vanilla Sugar Wafer Cookies (14 oz)
For Decoration
- Gummy Sharks (or similar items for decoration)
- Paper Umbrella Toothpicks
How to Make Super Easy to Make Hawaiian Sand Cups for Kids Recipe
Step 1: Prepare the Pudding Mixture
- In a large bowl, add 2 cups milk and the instant vanilla pudding mix.
- Whisk until blended and no longer lumpy.
- Let set in the refrigerator for 5 minutes; this allows the pudding to thicken.
Step 2: Crush the Cookies
- In a food processor, crush the entire package of vanilla sugar wafer cookies until they become fine crumbs.
Step 3: Combine Ingredients
- Stir the thawed Cool Whip into the thickened pudding mixture.
- Add half of the crushed cookies into the pudding mixture and fold gently until combined.
Step 4: Layer Your Sand Cups
- Take your clear plastic cups and add about 1/2 tablespoon of crushed cookies to the bottom of each cup.
- Fill each cup approximately 3/4 full with the pudding mixture.
- Top each cup with an additional 1-1/2 tablespoons of crushed cookies.
Step 5: Refrigerate and Decorate
- Refrigerate the assembled cups for at least an hour before serving.
- Optionally, cover them and refrigerate overnight if you’re prepping ahead of time.
- Just before serving, decorate with gummy sharks and small paper umbrella toothpicks.
Now you have a delicious treat that’s sure to be a hit! Enjoy making these Super Easy to Make Hawaiian Sand Cups for Kids!
How to Serve Super Easy to Make Hawaiian Sand Cups for Kids Recipe
These delightful Hawaiian sand cups are perfect for any gathering, especially for kids. They are a fun and interactive dessert that can be enjoyed at parties or as an after-school treat.
Fun with Themes
- Beach Party: Serve these cups alongside beach-themed decorations like sand buckets and beach balls for a festive atmosphere.
- Luau Celebration: Incorporate tropical flowers and tiki torches to enhance the Hawaiian theme and make the dessert table pop.
Personal Touch
- Custom Toppings: Let kids choose their favorite toppings, such as different gummy candies or sprinkles, to personalize their sand cups.
- Creative Containers: Use coconut shells or mini sand buckets instead of plastic cups for a fun twist on serving.
Interactive Experience
- Build-a-Cup Station: Set up a station where kids can assemble their own sand cups with layers of pudding and crushed cookies.
- Taste Testing: Encourage kids to taste test various combinations of toppings to discover their favorites.
How to Perfect Super Easy to Make Hawaiian Sand Cups for Kids Recipe
Creating the perfect Hawaiian sand cups is easy with a few handy tips. These suggestions will help you achieve delicious and visually appealing results.
- Bold Whisking: Ensure you whisk the milk and pudding mix thoroughly until smooth. This prevents lumps and gives your pudding a creamy texture.
- Chill Time is Key: Allow the pudding mix to chill for at least 5 minutes before layering. This helps it thicken properly and creates a better texture in each cup.
- Crushing Cookies Right: Use a food processor to crush the vanilla sugar wafers finely. This mimics the look of actual sand and enhances flavor distribution.
- Layering Matters: When assembling, layer carefully. Start with cookies, then pudding, followed by more cookies. This creates beautiful layers that are visually appealing.
- Garnish Generously: Don’t skimp on fun decorations! Gummy sharks and colorful umbrellas not only enhance presentation but also excite kids about eating their dessert.
- Prep Ahead: If hosting, prepare these cups in advance. They can be made the night before and stored in the fridge, making event day stress-free.
Best Side Dishes for Super Easy to Make Hawaiian Sand Cups for Kids Recipe
Pairing side dishes with your Hawaiian sand cups can elevate your dessert experience. Here are some tasty options that complement this sweet treat perfectly.
- Tropical Fruit Skewers: Fresh pineapple, mango, and kiwi on skewers add a refreshing touch to balance the sweetness of the sand cups.
- Mini Veggie Cups: Serve individual cups filled with fresh veggies like carrots, cucumbers, and cherry tomatoes paired with ranch dip for a crunchy contrast.
- Coconut Rice Salad: A light coconut rice salad brings tropical flavors without overpowering the main dessert, making it an ideal side.
- Pineapple Salsa: Fresh pineapple salsa served with tortilla chips adds a sweet and savory element that’s always a hit at gatherings.
- Rainbow Fruit Salad: A colorful fruit salad featuring berries, bananas, and oranges provides natural sweetness while being visually appealing.
- Cheese Cubes and Crackers: Offer assorted cheese cubes alongside crackers for a savory option that complements the sweetness of the dessert.
- Tropical Smoothies: Blend together banana, mango, and coconut milk for refreshing smoothies that tie into the Hawaiian theme beautifully.
- Popcorn Mix: Create a tropical popcorn mix with pretzels, coconut flakes, and dried fruits for a crunchy snack that kids will love.
With these serving suggestions, tips for perfection, and complementary side dishes, your Super Easy to Make Hawaiian Sand Cups for Kids Recipe will be an unforgettable treat!
Common Mistakes to Avoid
Making Super Easy to Make Hawaiian Sand Cups for Kids can be a delightful experience. However, there are a few common pitfalls to watch out for.
- Skipping the chilling time: This dessert needs time to set properly. If you skip refrigerating the pudding, it won’t achieve the right texture.
- Not crushing cookies finely enough: For the best sand-like appearance, ensure the sugar wafers are crushed into fine crumbs. Larger pieces won’t create the desired look.
- Overfilling cups: Be careful not to overfill with pudding. Leaving some space allows for proper layering and presentation.
- Ignoring decoration: The gummy sharks and paper umbrellas make these cups fun! Don’t forget to add them before serving for an exciting touch.
- Using stale cookies: Fresh cookies are essential for the best flavor and texture. Always check the expiration date of your sugar wafers.
Storage & Reheating Instructions
Refrigerator Storage
- Store in airtight containers for up to 3 days.
- Keep covered in their original cups if possible to maintain presentation.
Freezing Super Easy to Make Hawaiian Sand Cups for Kids Recipe
- These cups are not recommended for freezing as the cream can separate upon thawing.
- It’s best to prepare them fresh for optimal taste and texture.
Reheating Super Easy to Make Hawaiian Sand Cups for Kids Recipe
- Oven: Not suitable; this recipe does not require baking or reheating.
- Microwave: Do not use; warm pudding can change its structure and flavor.
- Stovetop: Not applicable; serve chilled directly from the refrigerator.
Frequently Asked Questions
Here are some common questions about making Super Easy to Make Hawaiian Sand Cups for Kids.
Can I use different flavors of pudding?
Yes! Feel free to experiment with different flavors like chocolate or banana for a unique twist on this recipe.
How can I customize my Hawaiian Sand Cups?
You can add layers of fruit, like diced strawberries or bananas, between the pudding and cookie layers for added flavor and nutrition.
What can I use instead of gummy sharks?
You can use any fun candy that fits your theme, such as gummy fish, candy seashells, or even colorful sprinkles!
How long do these cups last in the fridge?
These cups will stay fresh in the refrigerator for up to 3 days when stored properly in airtight containers.
Final Thoughts
Super Easy to Make Hawaiian Sand Cups for Kids is a fun and versatile dessert perfect for any gathering. Their colorful layers and playful decorations make them appealing to kids and adults alike. Customize them with your favorite toppings or flavors, and enjoy a delightful treat at your next party!
Super Easy to Make Hawaiian Sand Cups for Kids
Super Easy to Make Hawaiian Sand Cups for Kids is a delightful no-bake dessert that brings a taste of the tropics right to your table. With layers of creamy vanilla pudding and crunchy cookie “sand,” these vibrant cups are not only visually appealing but also incredibly fun to make. Perfect for birthday parties, family gatherings, or just as a playful treat, kids will love assembling their own creations. Topped with colorful gummy decorations, these sand cups are sure to be a hit with both children and adults alike. Get ready to make sweet memories with this easy recipe that’s packed with flavor and fun!
- Prep Time: 15 minutes
- Cook Time: None
- Total Time: 0 hours
- Yield: Serves approximately 6 cups 1x
- Category: Dessert
- Method: No-Bake
- Cuisine: Hawaiian
Ingredients
- 2 Cups Milk
- 1 Small Package Instant Vanilla Pudding
- 1 Package Vanilla Sugar Wafer Cookies (14 oz)
- 1 Cool Whip (thawed)
- Gummy Sharks (or similar items for decoration)
- Paper Umbrella Toothpicks
Instructions
- In a large mixing bowl, combine the milk and instant vanilla pudding mix. Whisk until smooth, then let it set in the refrigerator for 5 minutes.
- Crush the vanilla sugar wafer cookies in a food processor until fine crumbs form.
- Fold the thawed Cool Whip into the thickened pudding mixture, then add half of the crushed cookies and gently combine.
- Layer about ½ tablespoon of crushed cookies at the bottom of clear plastic cups. Fill each cup approximately ¾ full with the pudding mixture and top with an additional 1½ tablespoons of crushed cookies.
- Refrigerate for at least an hour before serving. Decorate with gummy sharks and paper umbrella toothpicks just before serving.
Nutrition
- Serving Size: 1 cup (180g)
- Calories: 240
- Sugar: 20g
- Sodium: 150mg
- Fat: 8g
- Saturated Fat: 5g
- Unsaturated Fat: 2g
- Trans Fat: 0g
- Carbohydrates: 38g
- Fiber: 1g
- Protein: 3g
- Cholesterol: 15mg